
Renovating the Drop Room - Painting the Tile Floors
After removing the closet in the drop room, we were left with patches of bare subfloor where tile had never been laid. Since we’re focused on keeping this renovation budget-friendly, replacing all the tile wasn’t an option. Plus, tracking down a perfect match for the existing tile proved nearly impossible—it had been there since the 90s! Remembering how beautifully the kids’ bathroom floor turned out when I painted it in our last home, I knew this could be the perfect solution.

The painted tile floors in the kids' bathroom of our previous home.
In this post, I’ll walk you through exactly how I did it, what worked, what I’d do differently, and tips to make your own painted tile floor look amazing and endure being walked all over.
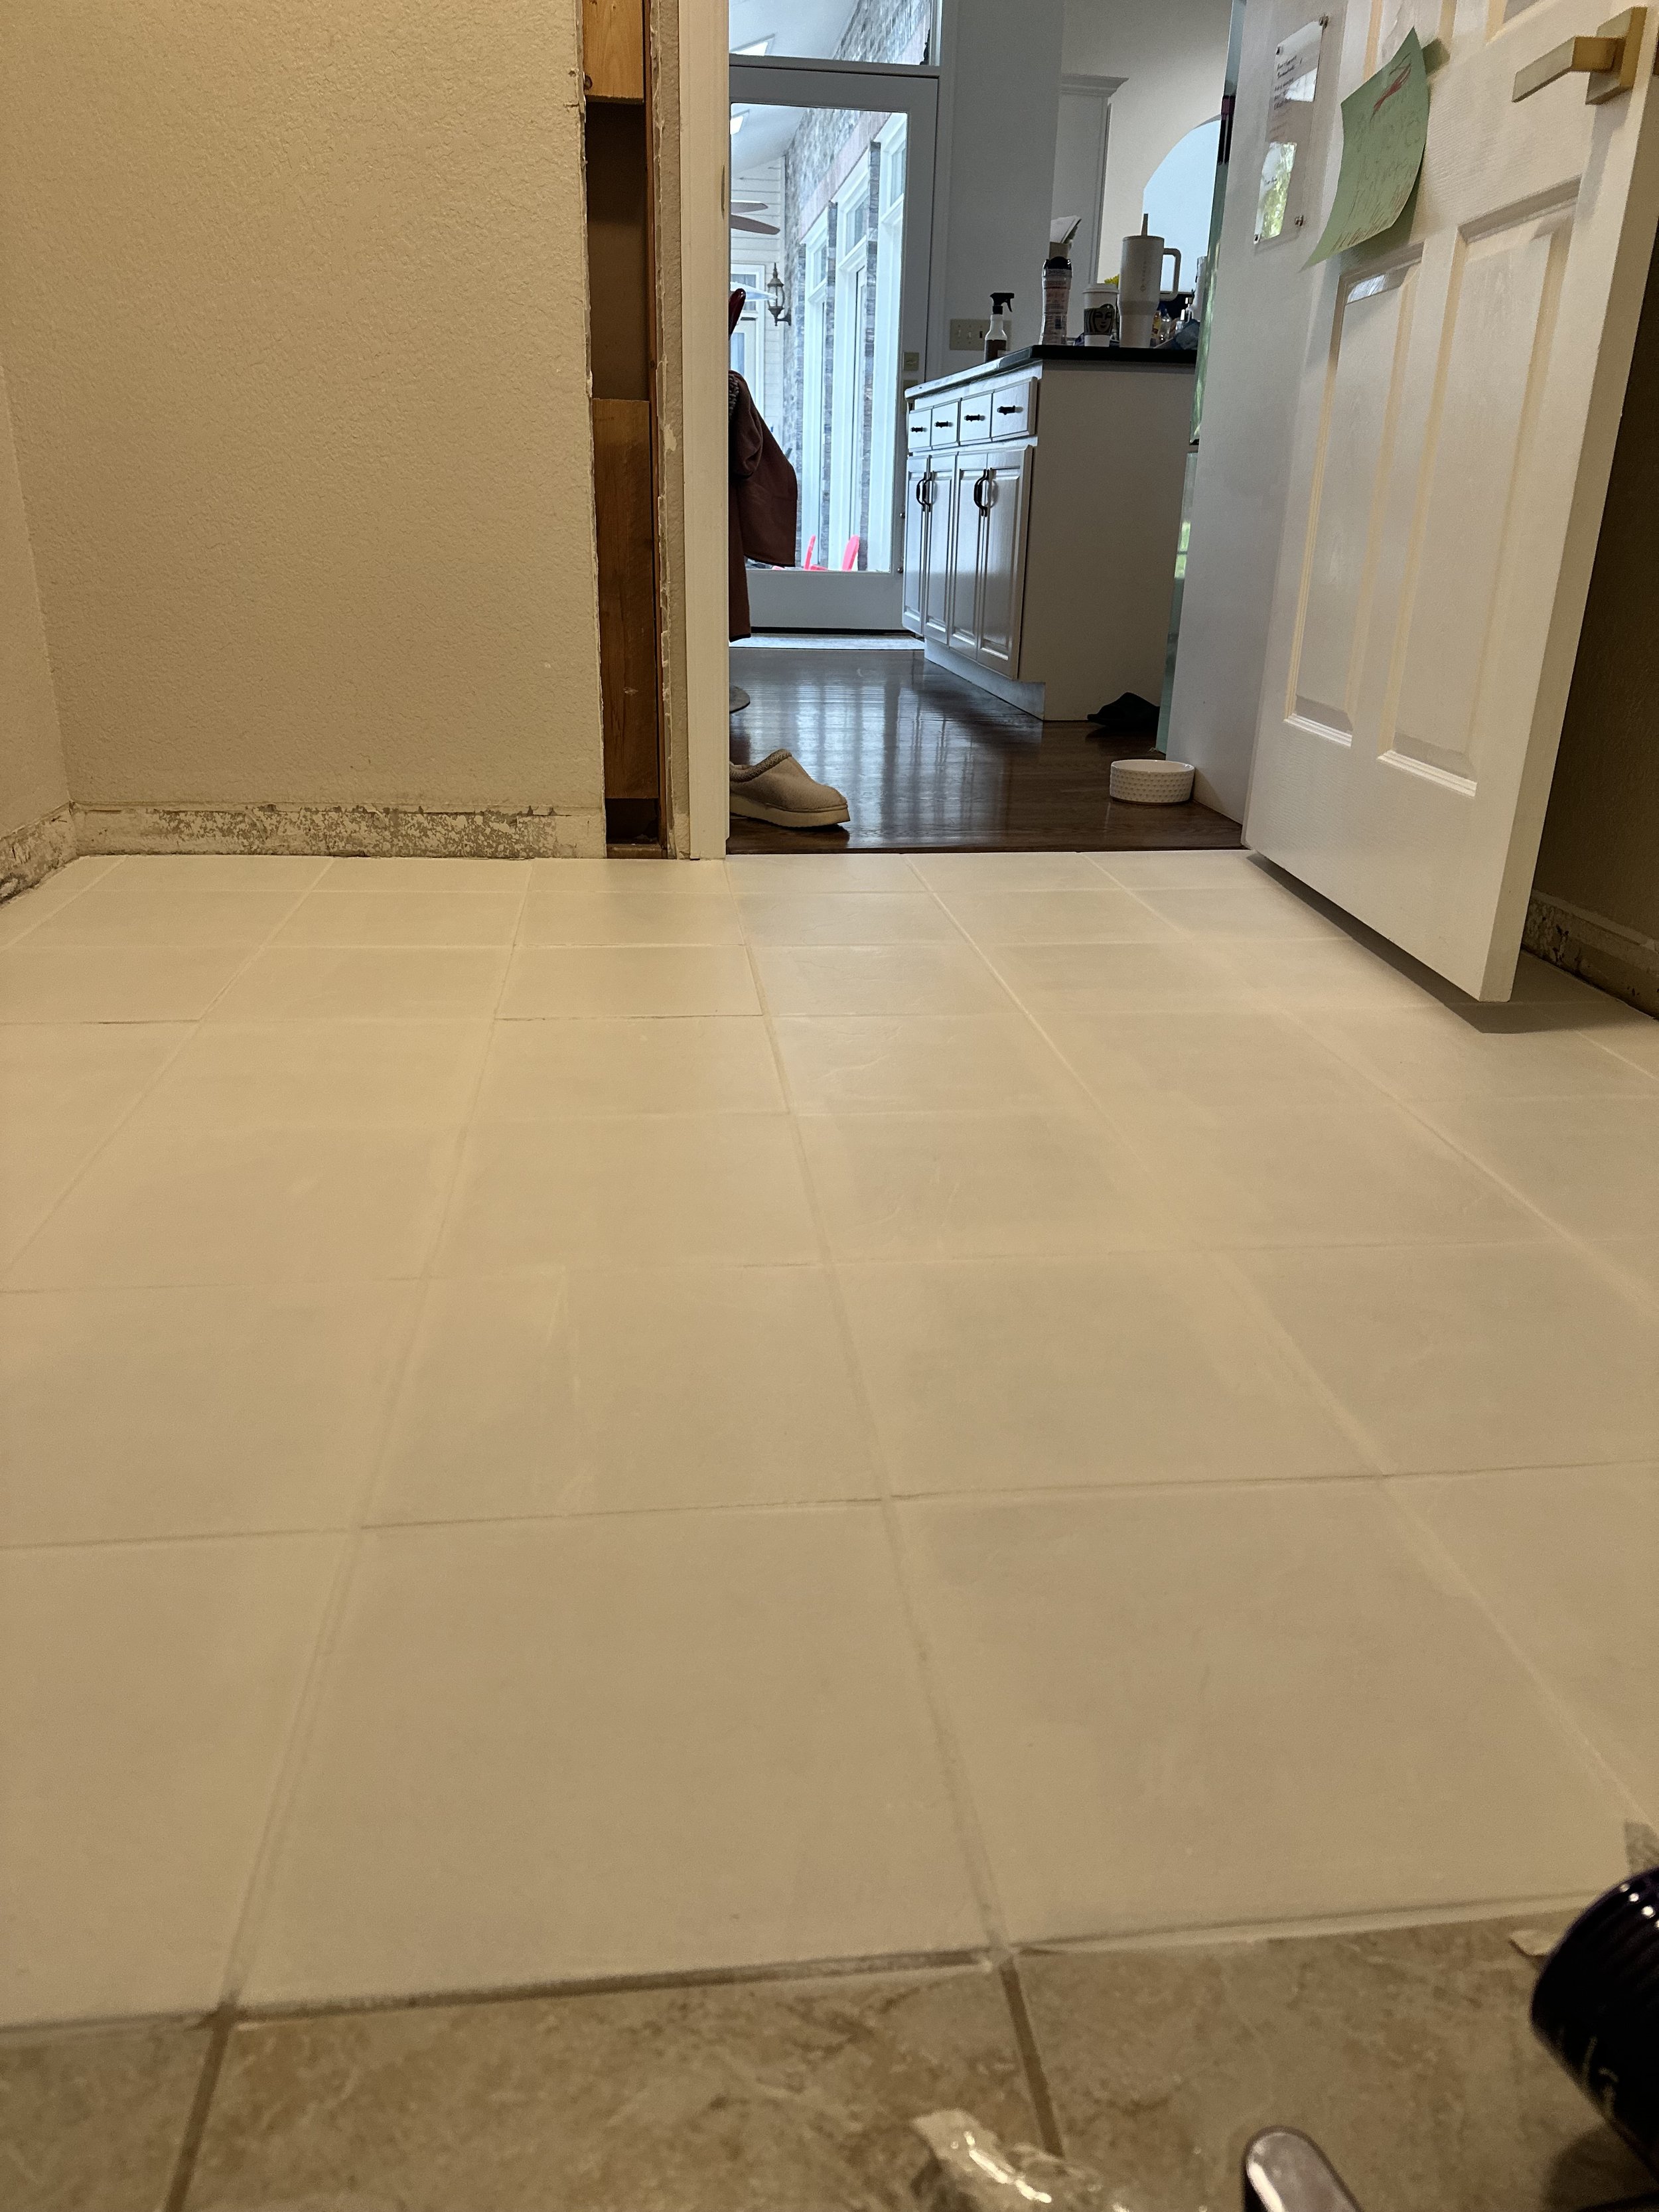
The Before – Why I Wanted to Paint Our Tile Floor
The tile was outdated, had seen better days, and no matter how much I scrubbed the grout lines, I couldn't get them clean.
It made the space feel dark and uninviting.
Replacing it wasn’t an option due to cost and effort.
I wanted a quick, budget-friendly refresh!
What You Need – Best Paints & Tools for Painting Tile Floors
Paint Options I Considered:
Chalk paint – I used chalk paint when I painted my floors in our last home. It is super easy to work with but it needed a strong topcoat, and I didn't love the shine of the finished look, I also felt like some of the floor looked yellow from the topcoat.
Rust-Oleum Home Floor Coating Kit – I have used Rust-Oleum kits before and have always been really pleased with them. I appreciated that this kit came with everything needed, including a floor cleaner, and no priming was deemed necessary.
Supplies I Used:
Rust-Oleum Home Floor Coating Kit – This inlcudes the floor cleaner, paint, and topcoat. I used the colors: ultra white & oyster shell
Foam roller & angled brush – For smooth application.
Painters tape – I used this to create a checkered pattern on the floor.
Stencil (optional) - Cutting Edge Stencils has beautiful designs and special brushes you can purchase. I used in my last floor painting project and they were amazing!
The Process – How I Painted Our Tile Floor
Prepping the Tile & the Area
First, I removed all the baseboards. This step is optional, you could always tape around them. In my case, I knew I wanted to replace them, and this gave me the cleanest look.
Using the provided cleaner, I made sure the floors were squeaky clean. If you are using your own cleaner, it's important that it gets everything up and doesn't leave any kind of residue. Such as a TSP cleaner.
Lastly, I repaired a few grout cracks to ensure an even finish.
Painting the Tile
I ended up needing three coats of the base color. This is after one coat!
I was able to forgo priming the tile because the Rust-oleaum floor paint says it's not necessary. I used the ultra white as my base.
I used a foam roller and an angled brush to apply, in 24" x 24" sections, letting each coat dry for 6-8 hours before applying the next coat. I ended up needing three thin coats to get full coverage.
If you have animals, hair is always an issue! I kept a duster and painters tape near by to help with removing pet hair from the surface before and during painting.
Adding a Pattern (Optional, But Worth It!)


After my bottom coat was completely dry, I used painters tape to plan out the checkered design on the floor. In order to keep organized with the pattern I put an extra piece of tape in the center of the squares I was wanting to paint. (See photo)
Pro tip: To create the cleanest lines possible. Use a paint brush to paint a thin layer over the tape line with the same color as the base, in my case white. Once this is dry, you can paint in your darker color. I used the color oyster shell.
Protect Your Hard Work!
I applied two coats of the top coat for protection, letting it dry fully between each application.
Be sure to let it cure for at least three full days before moving furniture back in, cleaning, or heavy use.
The After – Honest Thoughts & Lessons Learned
What I Love:
Love the checkerboard pattern and the design it brings to the space!
It brightened up the room dramatically.
It was budget-friendly—under $100!
It’s holding up well with daily use.
Lessons Learned:
Be more patient with drying time between coats.
Consider a third coat of sealer for extra durability.
Use a darker color, or more busy of a pattern for the mudroom. The dirt definitely shows on the white parts!
FAQs
How long does painted tile last? With proper sealing, 3-5 years or more!
Can you mop painted tile floors? Yes, but avoid harsh chemicals.
Will the paint peel? Not if you prep, seal, and cure it correctly!

Just look at those crisp lines!
Painting the utility room floor was quick, affordable, and totally transformed the space! If you’re on the fence about painting your own tile, ask yourself... could it be any worse then what I already have? haha! Just take your time, use the right products, and enjoy the process.
Have you painted tile floors before? I’d love to hear about your experience! Let’s chat in the comments. 🎨✨